

May
I’m Toni, and today I want to talk about something that stumped me when I first got my pet chickens: painting the chicken coop.
After some serious trial and error and a tonne of late-night research sessions, I’ve finally figured out the best paints to use to keep your coop looking great for years to come.
Whether you’ve been raising chickens for years or you’re just getting started, I’m excited to share my discoveries with you. So, grab a seat and let’s explore the colourful world of painting your chicken coop together!
Choosing the Right Paint for Your Chicken Coop
After years of raising backyard chickens, I’ve learned that not all paints are created equal when it comes to coop safety and durability.
Types of Paint Suitable for Chicken Coops
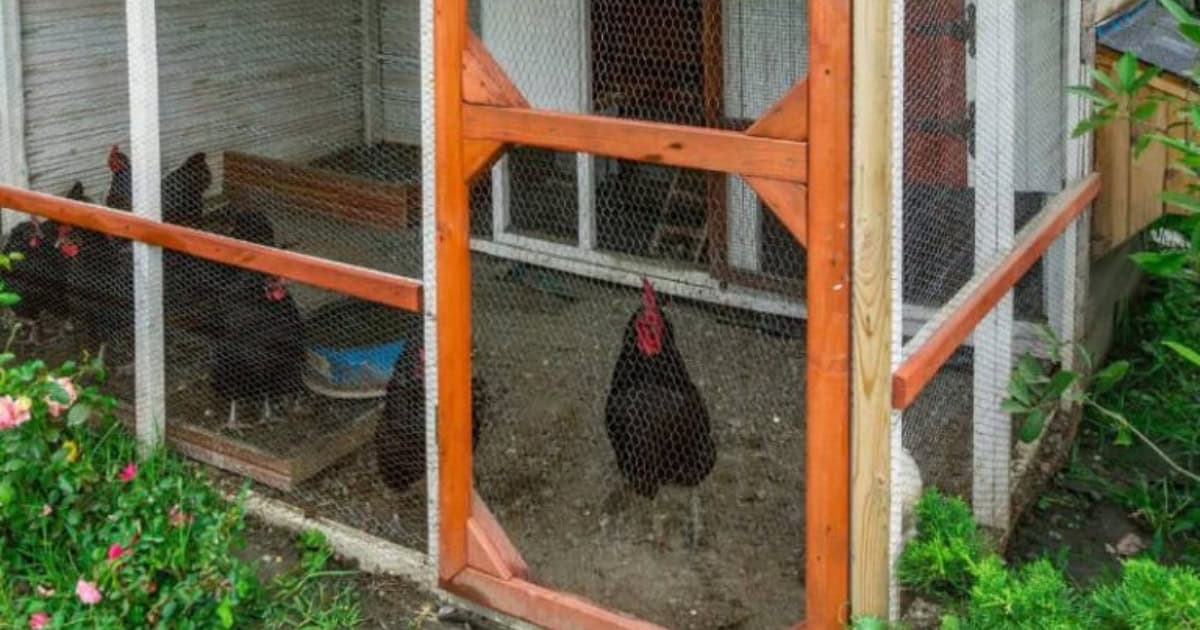
Choosing the right type of paint for your chicken coop is crucial for ensuring its longevity and the well-being of your flock.
I recommend painting your chicken coop using outdoor acrylic house paint. Designed specifically for exterior use, this type of paint offers exceptional durability and is capable of withstanding the elements for extended periods.
Its resistance to weathering, fading and moisture makes it ideal for protecting your coop from harsh outdoor conditions.
Additionally, outdoor acrylic house paint comes in a wide range of colours, allowing you to customise your coop’s appearance while providing a protective barrier against the elements.
Factors to Consider When Selecting Paint
When selecting paint for your chicken coop, buy a paint that is non-toxic and safe for your feathered friends. Look for paints labelled as “low-VOC” or “zero-VOC” to minimise harmful fumes and chemicals.
Durability is another important consideration. Your coop paint needs to withstand the elements, frequent cleanings and the occasional peck from curious beaks. I recommend choosing high-quality exterior paints that are moisture-resistant and fade-resistant.
Benefits of Painting Your Chicken Coop
Painting your chicken coop offers numerous benefits beyond just aesthetics. A fresh coat of paint helps protect the wood from weathering, rot and insect damage, extending the life of your coop.
It also makes cleaning much easier for chicken keepers, as dirt and grime have a harder time sticking to a smooth, painted surface.
In my experience, a coop painted a light colour, such as white or pale yellow, can help reflect heat and keep the interior cooler during the hot summer months. This is especially important for breeds that are prone to heat stress, like Silkies or Brahmas.
Somerzby coops don’t need to be painted as they come already coated in water-based non-toxic stain. If you decide you want to change the colour, you can paint straight over this stain – no need to sand it back first!
Preparing Your Chicken Coop for Painting
If you are painting a brand new Somerzby enclosure, your coop is ready to paint without any prep!
However, if you are painting an older, used chicken coop, it’s important to properly prepare it for painting.
Cleaning and Repairing the Coop
Start by giving your chosen coop a thorough cleaning, inside and out. Remove loose debris, cobwebs and dirt using a broom or wire brush. If needed, use a hose to deep clean the surfaces.
Next, inspect the coop and nesting boxes for any damage or areas in need of repair. Replace any rotted or warped boards, and fill in cracks or holes with wood filler.
Sanding the Surface
Once your coop is clean and repaired, it’s time to sand the surfaces to create a smooth base for painting. Use a medium-grit sandpaper to remove any rough spots, splinters or peeling paint. Be sure to wear a dust mask to avoid inhaling any wood particles.
After sanding, wipe down the surfaces with a damp cloth to remove any dust.

Step-by-Step Guide to Painting Your Chicken Coop
Now that your chicken coop is prepped and primed, it’s time for the fun part – painting. Follow these steps for a flawless finish that will make your chickens the envy of the neighbourhood.
Gathering Necessary Supplies
Before you start painting, make sure you have all the necessary paint tools on hand. You’ll need:
- Exterior paint in your chosen colour.
- Paintbrushes (a larger brush for large surfaces and a smaller brush for details).
- Paint roller and tray.
- Drop cloths or tarps to protect the ground.
- Painter’s tape (optional, for creating clean edges).
I always recommend using high-quality tools and paint for the best results. It may cost a bit more upfront, but it pays off in the long run with a durable, professional-looking finish.
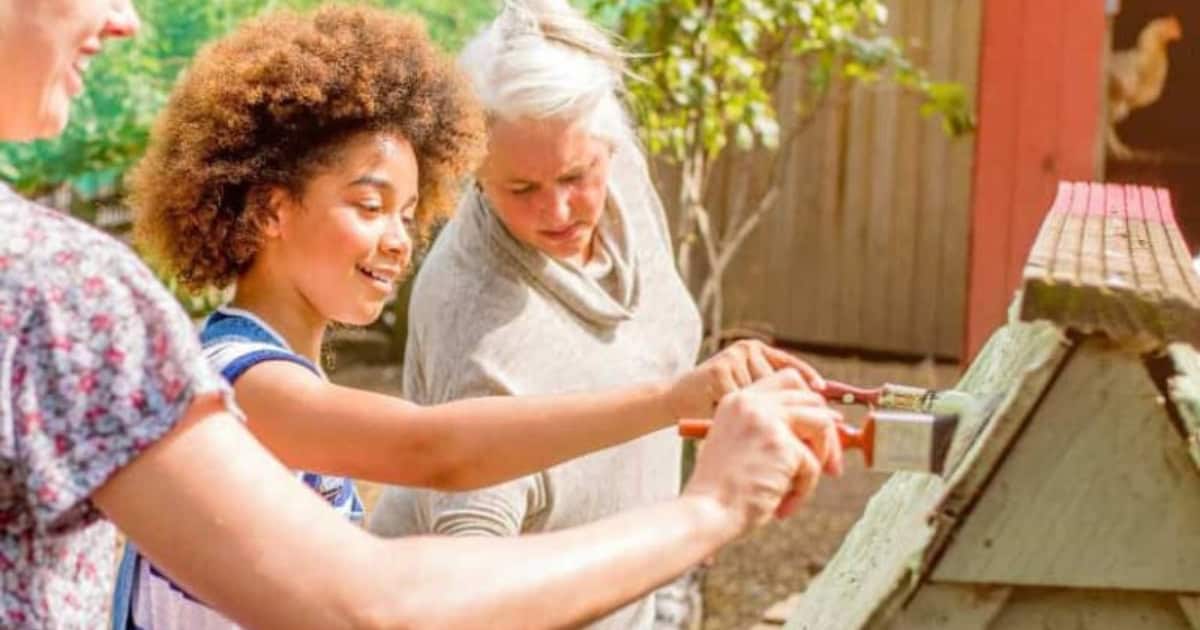
Painting the Coop
If you are painting a new Somerzby coop, it is usually easier to paint the loose panels first, allow them to dry, and then assemble the coop.
But you can paint after assembly if you prefer. Begin painting at the top and work your way down, using long, even strokes. Be sure to paint in the direction of the wood grain for a smooth finish.
Most backyard chicken coops require at least two coats of paint for full, even coverage. If you’re using a darker paint colour or painting over a previously painted surface, you may need a third coat for optimal results.
Allowing Adequate Drying Time
Give each coat plenty of time to dry before adding another. If you’re unsure if the paint is dry, gently touch a small, inconspicuous area. If it feels dry to the touch and doesn’t leave any paint on your finger, it’s safe to proceed with the next coat.
Once you finish painting, wait two days before letting your chooks back into their home. This allows the paint to dry plus allows the fumes to dissipate. If you are raising baby chicks, you should allow extra time as they are more sensitive to vapours.
Toni’s Wrap
Painting your chicken coop with outdoor acrylic house paint is a practical and effective choice for ensuring its longevity without causing harm to your flock.
This type of paint offers exceptional durability against weathering and moisture, along with a wide range of colours to suit your backyard.
Proper preparation, including cleaning, repairing and sanding the surface, sets the stage for a flawless finish.
By following a step-by-step approach and allowing adequate drying time, you can achieve a professional-looking result that enhances both the appearance and longevity of your coop.
So grab your paintbrush and give your coop the glow-up it deserves. And if you ever have any questions or need help choosing the perfect coop design for your yard, you know where to find me. Happy painting!
Related Blogs